How To Apply See-Through Film
Are you ready to learn how to expertly apply a see-through window film decal to your vehicle or any similar surface? This comprehensive guide will walk you through the process step by step, making it easy for you to achieve professional results.
Firstly, gather your supplies. You'll need your window film, a cleaning solution, paper towels, a straight edge (such as a credit card or larger), an Exacto knife or razor blade, and some masking tape.
Let's dive into the process:
- Start by thoroughly cleaning the surface where you plan to apply the window film. Use your cleaning solution and paper towels to ensure the area is free from any dirt, dust, or debris.
- Once the surface is clean, use masking tape to carefully align and secure the window film in place. This step ensures that your decal will be applied evenly and accurately.
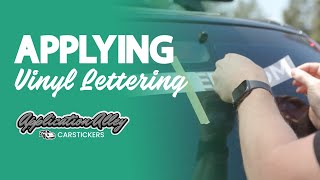
- With the film securely taped in position, gently lift one corner of the film and peel off the backing. Take care not to touch the adhesive side of the film with your fingers to avoid leaving any fingerprints.
- Slowly lower the film onto the surface, starting from the top and working your way down. As you go, use your straight edge to smooth out any bubbles or wrinkles in the film. This ensures a smooth and professional-looking finish.
- Once the film is in place, use your Exacto knife or razor blade to trim off any excess material along the edges. Take your time with this step to ensure clean and precise cuts.
- Finally, go over the entire surface again with your straight edge to firmly press down the edges of the film and ensure a secure bond.
And there you have it! With these easy-to-follow steps, you can confidently apply a see-through window film decal to any surface with professional-looking results. Whether you're promoting your business, adding a decorative touch, or providing sunshade, this guide has you covered.