Small Sticker Application Instructions
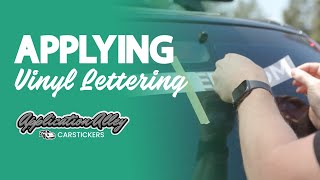
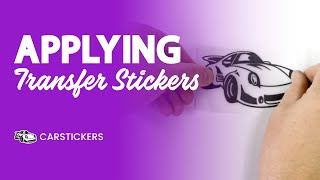
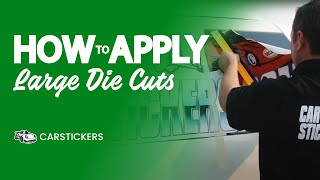
In this comprehensive guide, you'll learn the step-by-step process of applying a small-form custom decal onto a vehicle window or similar surface. This versatile technique can be applied to most vinyl cut-out decals, providing you with the skills needed to achieve professional results.
To begin, gather the following supplies:
- Your Custom Decal/Sticker
- Ruler
- Cleaning Solution
- Masking Tape
- Paper Towels
- Straight Edge (such as a credit card or similar tool)
Now, let's dive into the application process:
- Start by thoroughly cleaning the surface where the decal will be applied using a cleaning solution and paper towels. Ensure the surface is free from any dirt, dust, or debris.
- Use masking tape to secure the decal in the desired position on the window. This will help prevent it from shifting during the application process.
- Use a ruler to measure and ensure proper spacing and placement of the decal. This step is crucial for achieving a balanced and visually appealing result.
- Carefully lift the bottom of the decal, peeling away the backing to expose the adhesive side.
- Roll or lower the decal onto the surface, starting from the bottom and working your way up. Use gentle pressure to ensure the decal adheres smoothly to the surface.
- Once the decal is in place, use a straight edge, such as a credit card, to gently push out any air bubbles trapped beneath the decal. Work from the center outwards to ensure a smooth and bubble-free application.
By following these simple steps, you can achieve professional-looking results when applying small-form custom decals to vehicle windows or similar surfaces. With practice and attention to detail, you'll master the art of decal application in no time.