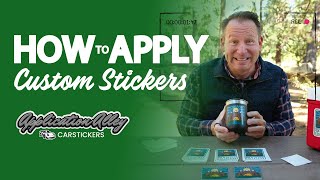
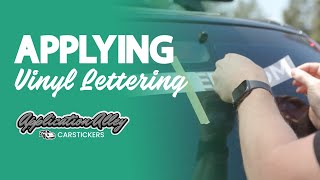
Large Sticker Application Instructions
Installing a large sticker on a car can seem daunting, but with the right technique, it's a straightforward process. Here's a step-by-step guide to help you get it done right:
- Start by cleaning the surface thoroughly with alcohol or soap and water. This step is crucial for ensuring proper adhesion. Avoid using glass cleaners like Windex, as they can leave behind a residue that affects adhesion.
- Once the surface is clean, place a strip of masking tape down the center of the sticker's desired location. This will serve as a guide during the installation process.
- Carefully lift half of the sticker and peel off the white paper backing. To prevent the sticker from sticking to itself or the surface, hold it taut while peeling. It may be helpful to have a friend assist you by holding things in place.
- Slowly lower the sticker onto the surface, starting from the center and working your way outwards. Use a squeegee or a credit card to rub the sticker firmly in place, ensuring that it adheres properly.
- Once the first half of the sticker is applied, fold over the other half and peel off the remaining white paper backing.
- Again, slowly lower the sticker onto the surface and use a squeegee or credit card to smooth out any air bubbles and ensure proper adhesion.
By following these steps, you can install a large sticker on your car with ease. For more installation tips and guidance, visit Carstickers.com.