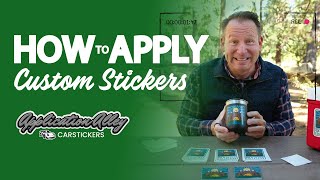
How To Apply Custom Stencils Stickers for Painting
Welcome back to Application Alley! I'm Joel, and today I'm excited to introduce you to a unique product you might not have heard of before: stencil stickers. These stickers are perfect for DIY projects, and here's why: unlike traditional stickers where we remove the background, with stencil stickers, we keep the background and remove the design. This allows you to apply the sticker to a surface, such as wood, and then paint over it. Once the paint dries, you simply peel off the sticker, leaving behind your design.
Today, we're using stencil stickers to personalize a set of cornhole boards for our office. But before we get started, let me show you how easy it is to apply these stickers. After peeling back the transfer tape, which lifts the stencil sticker from its backing, we use a squeegee to ensure it adheres well to the surface. The transparent nature of these stickers makes it easy to align them precisely.
Now, it's time to apply the paint. We use spray paint for this project, but if you prefer a paint brush, that works too. To prevent any paint from getting where it shouldn't, we apply painter's tape around the edges. After a quick spray, we let the paint dry for about 20 minutes.
Once the paint is dry, it's time to remove the stencil sticker. Thanks to its light adhesive, it's easy to peel off without damaging the paint or the surface beneath. The result? A crisp, sharp design that adds a personalized touch to any project.
So whether you're customizing cornhole boards or tackling other DIY endeavors, stencil stickers from Carstickers.com are a hole-in-one solution. Visit our website today to explore our full range of sticker options and take your DIY projects to the next level!